Read the crack before you repair it
Every repair method below works, and picking the right one takes about two minutes of looking. The question is never “how do I fill this” — it is “is this crack the problem, or a symptom of one.”
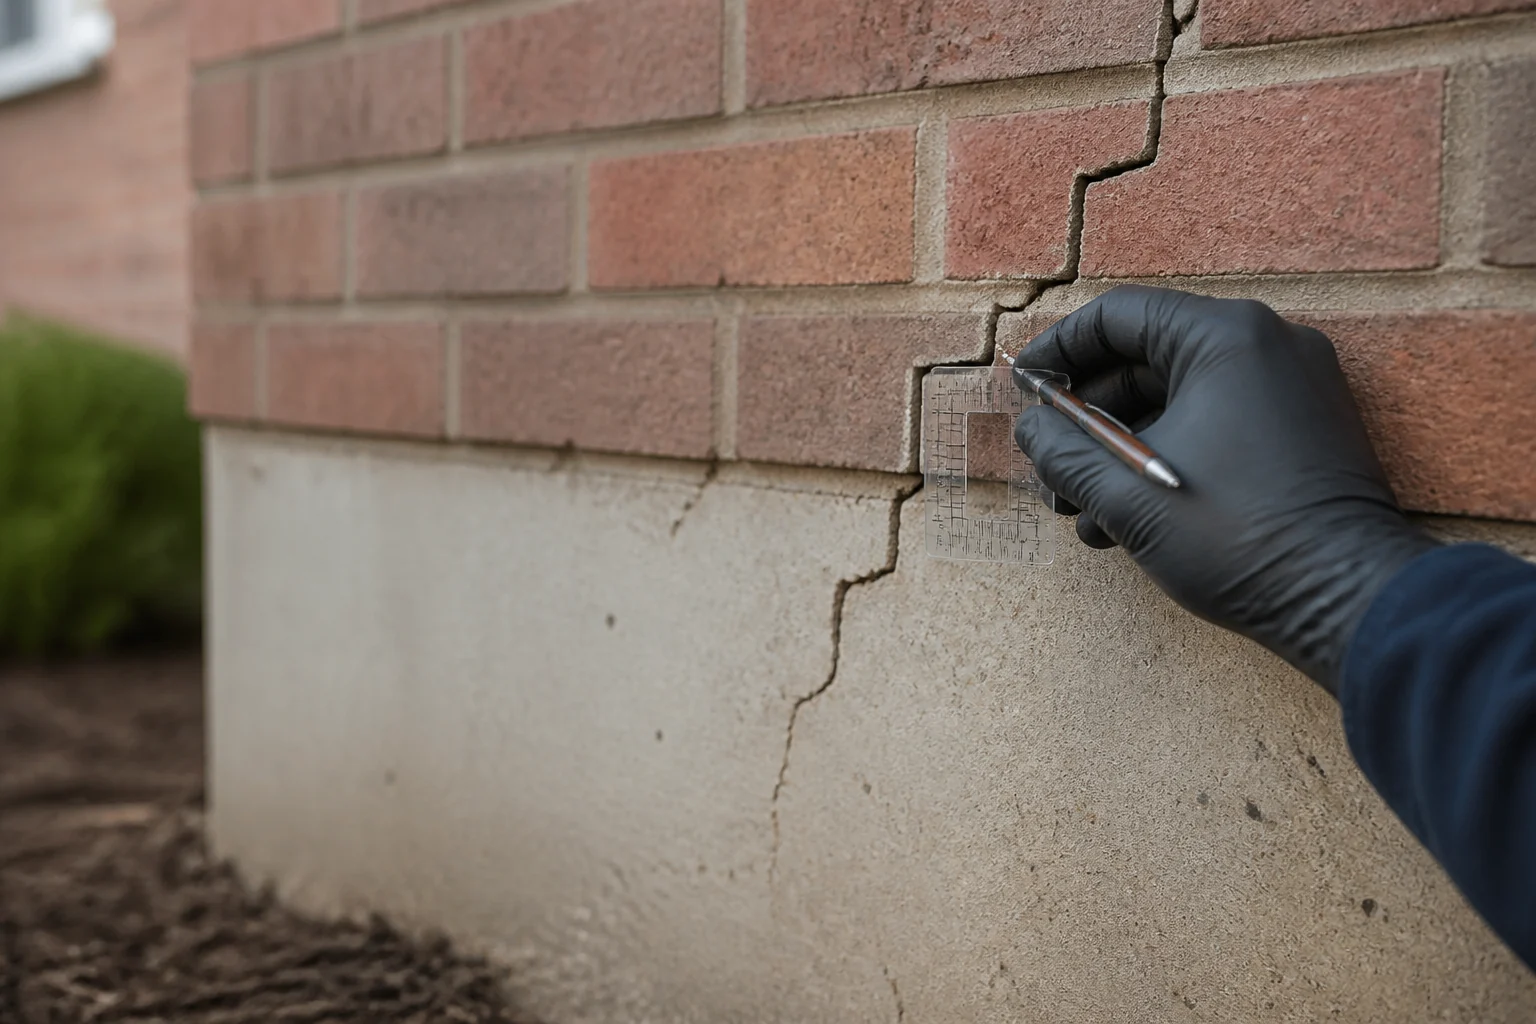
Symptom cracks are horizontal, stair-stepped through block, wider than 1/4 inch, or offset so one face sits proud of the other. Filling those without addressing the movement behind them is cosmetic work on a structural issue.
Ordinary cracks are vertical or slightly diagonal, under 1/4 inch, with both faces flush. Those are what the rest of this page is about. If you are unsure which you have, types of foundation cracks has the full identification guide.
How foundation cracks are actually repaired
Polyurethane injection
Ports are drilled along the crack, and expanding polyurethane resin is injected under low pressure until it fills the full wall thickness. It expands to chase voids and stays flexible afterward, which lets it tolerate the small seasonal movement every foundation has. This is the default when stopping water is the goal — it will even set in a damp crack.
Epoxy injection
Same port-and-inject process, different chemistry. Epoxy is a structural adhesive: it cures harder than the surrounding concrete and welds the two faces into a single element again. Specified when an engineer wants the wall to carry load across the crack. Because it is rigid, it is the wrong choice on a crack that is still moving — the concrete will simply crack again beside the repair.
Carbon fiber straps
Epoxy-bonded fabric strips running floor to ceiling across the wall, spaced 4–6 feet. They add tensile strength to a wall that is bowing under soil pressure. They stabilize what exists; they do not straighten a wall that has already moved.
Wall anchors
A steel plate inside the basement, connected by a rod to an anchor plate buried in the yard. Tightening the rod over seasons can recover some of the movement. They need yard access, which is what usually decides between anchors and interior-only carbon fiber.
Surface patching
Hydraulic cement or crack filler troweled over the surface, $20 – $60. This is cosmetic. It does not penetrate, does not waterproof under pressure, and typically reopens. Legitimate only when you want a stable, dry, dormant crack to look tidier.
What each method costs
| Method | Typical range | Unit | What drives it |
|---|---|---|---|
| Polyurethane injection | $350 – $900 | per crack | Flexible, expands — the waterproofing default |
| Epoxy injection | $400 – $950 | per crack | Rigid structural bond, restores load transfer |
| DIY injection kit | $60 – $150 | per kit | Roughly 10 ft of crack per kit |
| Carbon fiber strap | $400 – $800 | per strap | Stabilizes a wall that is moving |
| Wall anchor | $700 – $1,900 | per anchor | Mechanical restraint, exterior plate |
| Exterior excavation + membrane | $1,500 – $4,500 | per crack | Access from outside, worst-case repair |
Source: Compiled from published 2025–2026 contractor pricing datasets and injection material supplier pricing, normalized to installed cost including labor. · Last reviewed July 30, 2026 · Reference data · How we compile these figures
Full pricing detail by crack type is in foundation crack repair cost, and the cost calculator will size a multi-crack or structural job.
DIY injection, honestly
A $60 – $150 polyurethane kit handles a clean, accessible, non-structural vertical crack in poured concrete. Roughly an afternoon:
- Clean the crack. Wire brush the surface; remove loose concrete, paint and any old filler. Injection material bonds to concrete, not to debris.
- Mount the ports. Surface ports every 6–8 inches along the crack, glued in place with the paste supplied.
- Seal the face. Paste over the crack between ports so the resin goes into the wall rather than out of it. Let it cure fully — usually a few hours.
- Inject bottom to top. Fill the lowest port until resin appears at the next one, cap it, move up. That order pushes air ahead of the resin instead of trapping it.
- Let it cure, then remove the ports and grind the surface paste off if you want it invisible.
Where kits fail: hairline cracks too tight to accept resin, water actively flowing under pressure (nothing sets against a moving stream), and block walls. If resin disappears into the wall without ever appearing at the next port, stop — you are filling a void that needs a different approach.
Concrete block walls need a different approach
Injection assumes a solid wall with a discrete crack through it. A block wall is hollow cores and mortar joints, so injected material runs into the cavities and never fills the crack. Repairs on block usually mean surface sealing plus addressing the water on the outside, or structural reinforcement where the joints are moving.
Stair-step cracking through block mortar joints is the pattern to take seriously — it means the wall is being pushed or is settling differentially, not that the mortar is old.
When sealing isn’t the repair
Sealing a crack caused by ongoing movement buys you a tidy wall for a season or two. If any of the following is true, get a structural engineer ($450 – $600) before booking a repair:
- The crack is horizontal, or stair-stepped through block.
- It is wider at one end, or one face is offset from the other.
- It has measurably grown over 2–3 months (pencil-mark the ends and date them — this is free).
- Doors or windows have started sticking in more than one room.
- The floor slopes noticeably, or a marble rolls consistently in one direction.
See signs of foundation problems for the full walk-around, and foundation repair cost for what structural work runs.